Step 1
Retrieve the project you need to send out the appointment for.
Step 2
Click on the Appointments box.
Step 3
Select the appropriate department by clicking on the blue bar that lists the department types.

Step 4
Click on the + icon displayed at top right of the screen.

Step 5
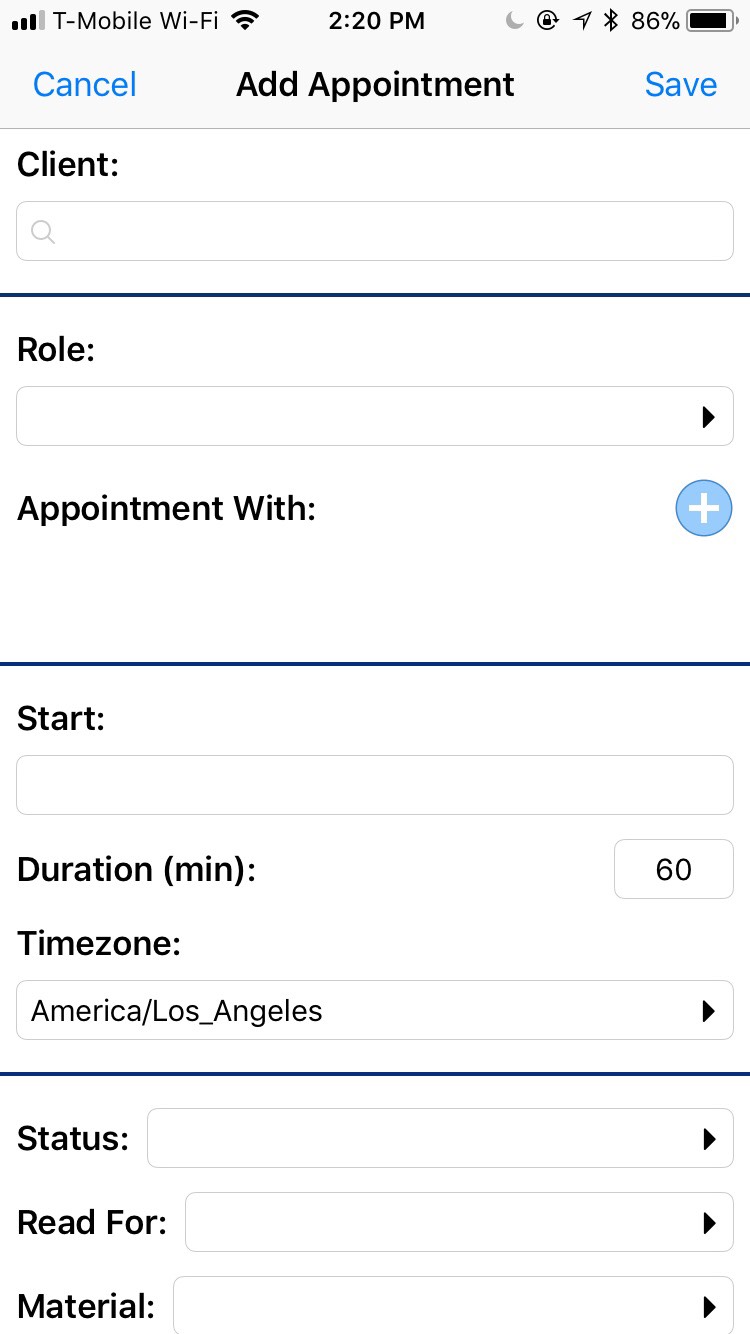
Input the necessary appointment information in the given fields. These information fields are the same as you would see on the regular computer version of IE. Once you’ve entered all the information, click Save.

Step 6
Once you click on Save, it’ll bring you back to the list of appointments for this project. Find the proper appointment and click on it.

Step 7
Scroll to the bottom and you will see a blue Email Appointment button. Click on that button.

Step 8
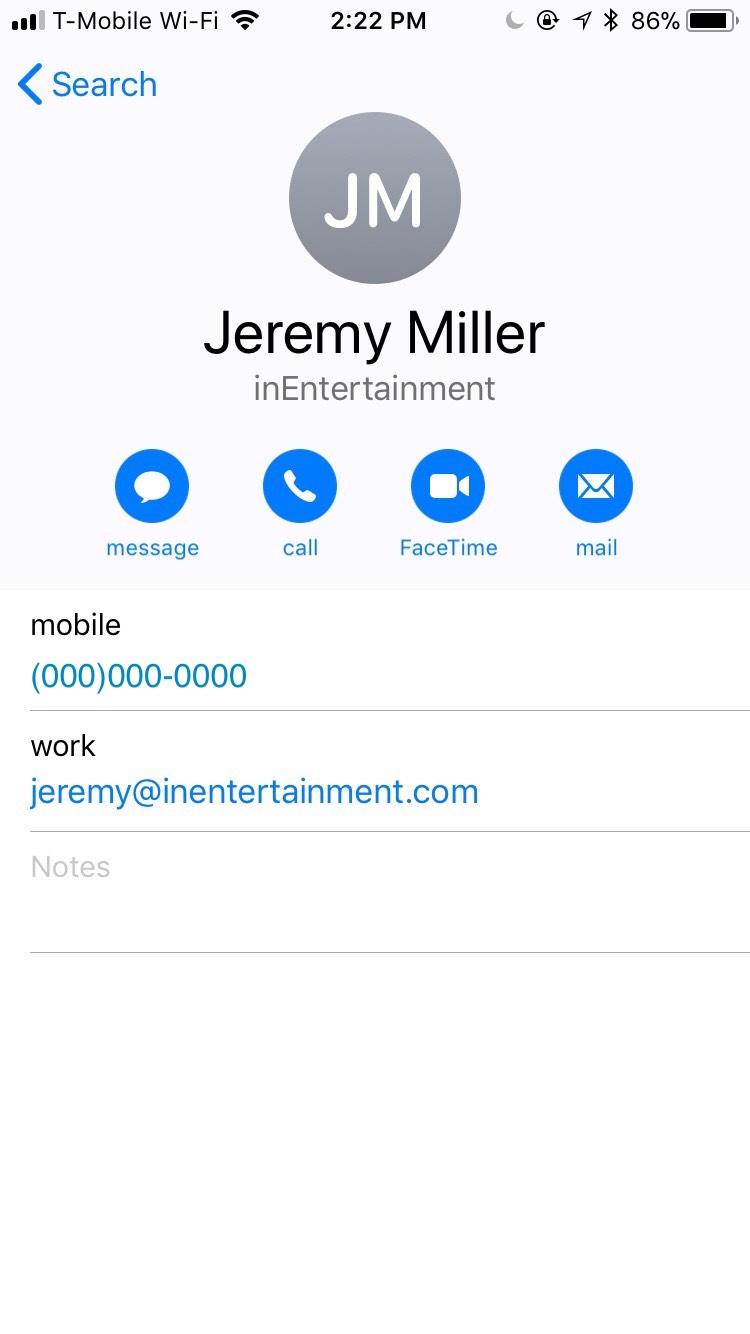
Locate the person in your contacts that you want to send this email too and select them.

This will take you to their address card where you can select the email address you’d like to send the appointment to.

Step 9
The email will automatically generate through your mail app on your phone. You’ll have a chance to see and review it and then you just need to hit Send.

